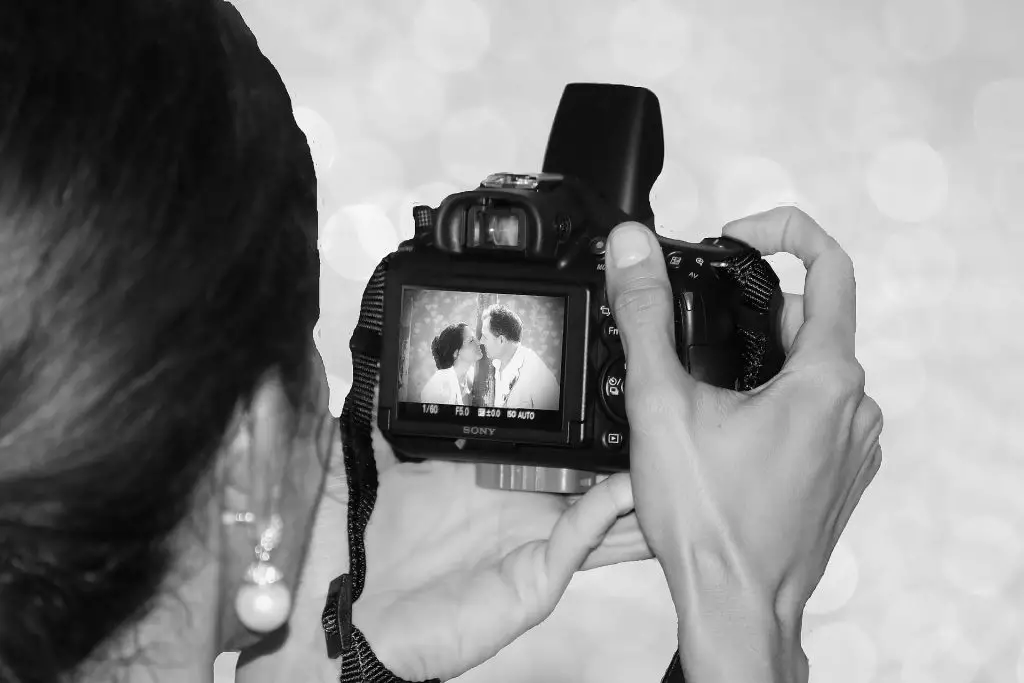
Wedding photography is a deeply rewarding and challenging task for photographers. Unlike other types of photography, capturing a wedding requires a blend of precision, artistry, and technical expertise.
Photographers are tasked with documenting one of the most important days in a couple's life, and there is little room for error. Understanding the camera settings for wedding photography is crucial to ensure that every moment is beautifully captured.
In this guide, we’ll cover the best camera settings for wedding photography, from basic to advanced settings, and tips for handling different lighting situations and ensuring your shots are perfect. Whether new to wedding photography or looking to refine your technique, these settings will help you succeed.
Let’s get straight to the point
Wedding photography is challenging yet rewarding. It requires a mix of technical expertise and creativity. Mastering both basic and advanced camera settings is essential to capturing every moment beautifully.
Key settings include using single-point autofocus, adjusting ISO and shutter speed for different lighting conditions, and utilising manual modes like shutter and aperture priority. Tripods and flash are important tools for portraits, and selecting the right focal length (wide-angle for group shots, telephoto for intimate details) ensures well-composed images.
Success in wedding photography comes from camera knowledge and creative skill, allowing photographers to consistently deliver stunning results.
Basic Camera Settings for Wedding Photography
Before diving into manual controls, it’s important to understand the basic camera settings that will help you achieve high-quality images. Most modern cameras offer numerous automatic settings that can assist in capturing great photos, but as a wedding photographer, manual control is often essential.
- Date/Time Settings
Set the correct date and time on your camera. This may seem trivial, but it is critical when sorting images later or syncing them with editing software. Properly setting this helps when organising a wedding album. - Auto Focus Area
Weddings often take place in unpredictable settings, with people constantly moving. Set your camera’s autofocus to a single point or central point focus. This ensures the camera focuses precisely where you want, even in crowded or dimly lit areas. Switching to single-point autofocus is especially effective for Canon users when capturing close-up shots. - AF Servo Mode
This mode is vital when photographing moving subjects. Weddings are full of movement, from walking down the aisle to dancing at the reception. Set your camera to AI Focus Mode (Canon) or another mode on other brands. This allows the camera to adjust focus as subjects move, ensuring sharp images. - Drive Mode
Set your camera to slow, continuous mode to capture several frames per second. This is ideal for moments like the first kiss or confetti toss, where multiple shots increase your chances of getting the perfect photo without overwhelming your memory card. - Metering Mode
Centre-weighted metering is a good option when photographing people in the centre of the frame, such as the bride and groom, during the ceremony. This setting ensures the camera focuses exposure calculations on the centre of the image. - Rear-Curtain Sync
Rear-curtain sync is ideal for capturing motion in low-light settings, such as during the reception. By setting the flash to go off at the end of the exposure, you’ll capture a more natural movement effect, especially during activities like dancing. - Highlight Warning
Enable this feature on your camera to alert you when parts of an image are overexposed. This is particularly important for wedding photography, as you don’t want to lose details in the bride’s dress. You can adjust exposure and prevent blown highlights by checking for blinking areas on your camera’s LCD screen. - White Balance
Although most cameras handle auto white balance well, wedding photographers often prefer to adjust white balance in post-production. A consistent reference, such as the bride's white dress, can help correct any discrepancies across the series of photos.
Advanced Camera Settings for Wedding Photography
Once you’ve mastered the basic settings, it’s time to explore more advanced manual controls. These settings give you greater creative control and are essential for creating professional-grade wedding photos.
Manual Settings
- Shutter Priority Mode
This mode is essential when capturing action or movement. Set your shutter speed to 1/500 of a second or higher for fast-moving subjects, like the couple's first dance or when guests toss the bouquet. A faster shutter speed freezes motion, allowing for clear, sharp images. - Aperture Priority Mode
Aperture controls the depth of field in your images. For portraits of the couple, use a wide aperture between f/1.4 and f/2.8 to create a soft, blurry background and make the subjects stand out. For wider shots that capture the entire venue or group portraits, adjust to a narrower aperture, such as f/8 or f/11.
ISO and Shutter Speed
Finding the right balance between ISO and shutter speed can be tricky, especially in a wedding setting where lighting conditions often change.
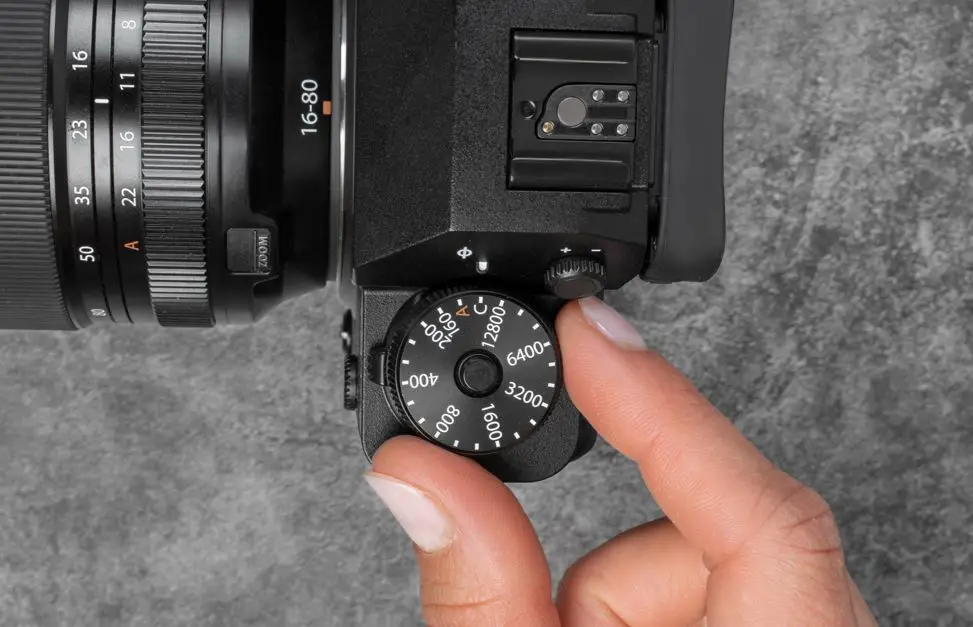
- ISO Settings
Keep your ISO low, around 100 to 400, for well-lit outdoor ceremonies to ensure clean, crisp images. You may need to increase the ISO to 800 or higher for indoor or evening events. Be cautious of noise at high ISO levels, but remember that some noise can be corrected in post-production using software like Lightroom. - Shutter Speed
The ideal shutter speed varies depending on the scene. Use a slower shutter speed for group portraits or still scenes, like 1/60 of a second. For moving subjects or when using flash, a faster shutter speed of around 1/250 or higher works best to avoid motion blur.
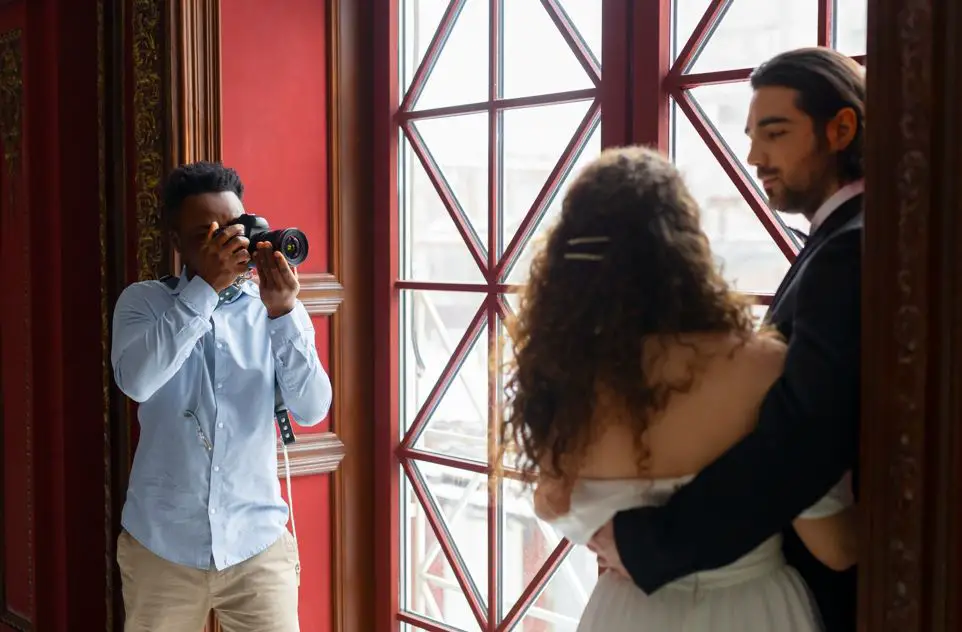
Essential Tips for Wedding Portraits
After the ceremony, the portraits are some of the most important photos you’ll take. These photos require precision, both in terms of posing the subjects and in your camera settings.
- Tripod and Flash
Use a tripod for posed portraits, especially indoors. A tripod helps eliminate camera shake, allowing you to focus on framing the shot and directing the couple. When indoors, using a flash can enhance image quality. Set your camera to 1/60 shutter speed, f/5.6 aperture, and an ISO of 400 to capture sharp, well-exposed portraits. - Manual Focus and Exposure
When shooting portraits, adjust the exposure manually to control how much background detail you want to capture. For a beautiful outdoor setting, maintain the default exposure. For more intimate portraits, reduce the exposure to blur the background slightly, making the couple stand out. - TTL Flash Mode
Use TTL (Through-The-Lens) flash mode to adjust the flash output automatically based on your camera’s metering. This saves time, as the flash adapts to different lighting conditions without requiring manual adjustment.
Focal Length and Focus Areas
The right focal length can significantly improve the quality of your wedding photos. Different scenes require different lenses and focus lengths.
- Wide-Angle Lenses
A focal length of around 35 mm is ideal for large group shots or wide views of the venue. This captures the entire scene without distortion. However, the size of the wedding party or venue may require adjustments, so be prepared to switch lenses if necessary. - Telephoto Lenses
For intimate portraits or detailed shots (such as rings or the bride’s shoes), use a telephoto lens with a focal length of around 100mm. This allows you to zoom in closely while maintaining a natural perspective and sharp focus. - Manual Focus
Switch to manual focus if the camera’s autofocus struggles with dim lighting or focuses on the wrong subject. This gives you complete control over which part of the scene is in focus, ensuring that the subjects remain sharp.
Conclusion
Wedding photography is a complex yet rewarding task. Mastering your camera settings is critical to capturing every important moment, from the ceremony to the reception.
By familiarising yourself with automatic and manual controls, you’ll be better prepared to handle the unique challenges of wedding photography.
Key takeaways include:
- Use single-point autofocus to ensure precise focus.
- Set your camera to AI Focus Mode for moving subjects.
- Adjust ISO and shutter speed based on lighting conditions.
- For portraits, use a tripod and set exposure to highlight the couple.
- Choose the right focal length based on the scene, using a wide-angle lens for group shots and a telephoto lens for close-ups.
Remember, your camera is just a tool—your skill and creativity will ultimately determine the quality of your photos. With practice and attention to detail, you’ll consistently capture stunning wedding images that your clients will treasure for a lifetime.
Frequently Asked Questions
For wedding couples portrait photography, you'll need an aperture somewhere between f/1.4 and f/2.8. When you photograph the wedding venue and wide shots the guests, you can consider using a higher aperture value.
Mirrorless cameras are a great choice for capturing beautiful wedding photos. They are smaller than DSLRs, easy to carry around, provide great video and offer a true silent mode.
Mirrorless cameras have the advantage of usually being lighter, more compact, faster and better for video; but that comes at the cost of access to fewer lenses and accessories. For DSLRs, advantages include a wider selection of lenses, generally better optical viewfinders and much better battery life.
In general, a full-frame sensor will produce higher-resolution images than crop sensors because they let in more light and detail. And for the same reason, they're also better in low-light conditions. They provide sharper, clearer images without having to set higher ISOs and therefore have less noise.
A photographer can make a wedding day experience amazing, or wreck it. It just takes a few choice words, interactions, personality conflicts and it can go from good to bad real quick. Holding a consultation will allow the opportunity to talk, ask your questions, and get to know each other better.