Lighting is one of the most crucial elements in creating compelling portrait photography. How light falls on a subject can dramatically impact mood, highlight facial features, and transform a simple photograph into an evocative work of art.
Fortunately, you don’t need an extensive or costly setup to get started. This guide covers the essential techniques to achieve impressive results with portrait lighting, from basic one-light setups to popular lighting patterns.
We’ll explore everything from lighting ratios and patterns to camera angles and modifiers.
Let’s get straight to the point
Mastering portrait lighting transforms a simple photograph into a captivating image by highlighting features and setting the mood. Essential equipment includes a camera, light source, stand, modifiers, and reflector.
Key lighting patterns-Butterfly, Loop, Rembrandt, Split, and Profile-create distinct effects and suit various facial features and moods. Broad lighting widens the face, while short lighting slims it, offering flexibility.
Practising these techniques with a single light source and experimenting with modifiers and catchlights help create the desired look. Each pattern adapts to different portrait types, from corporate to editorial.
Mastering these patterns provides a versatile toolkit for stunning, professional-quality portraits.
Basic Requirements for Portrait Lighting
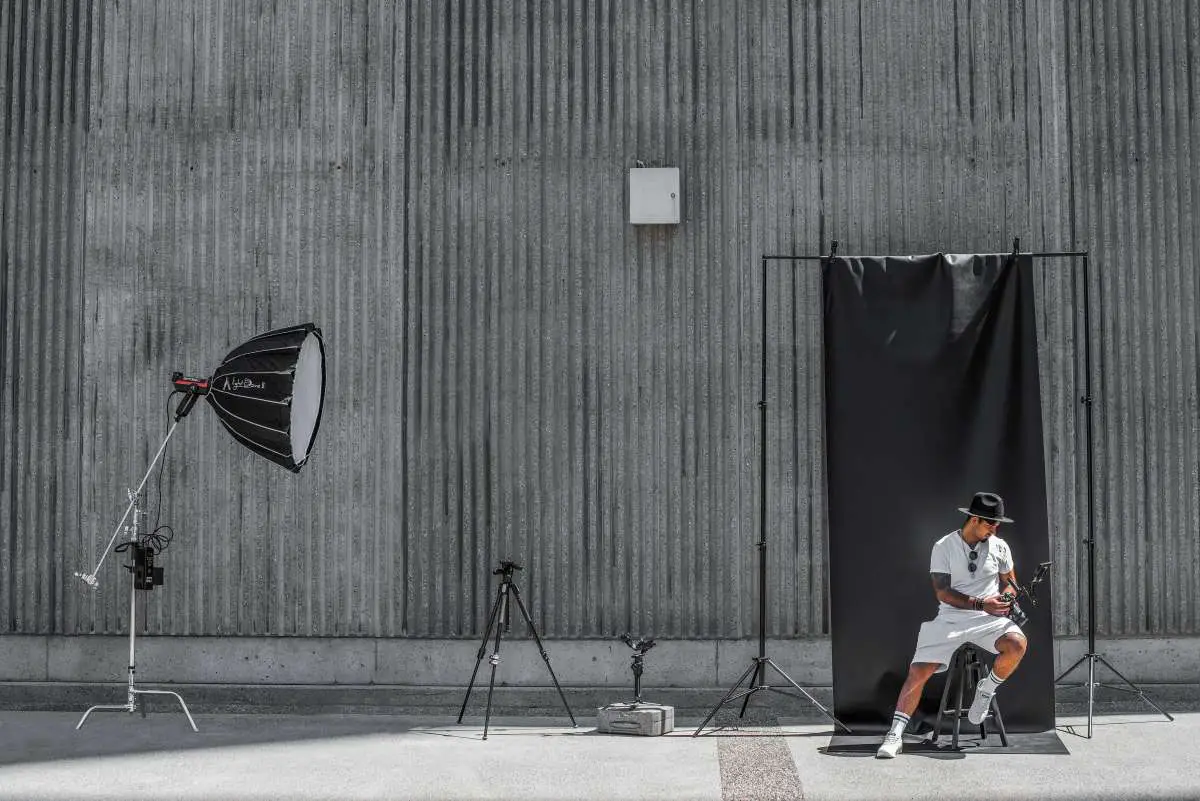
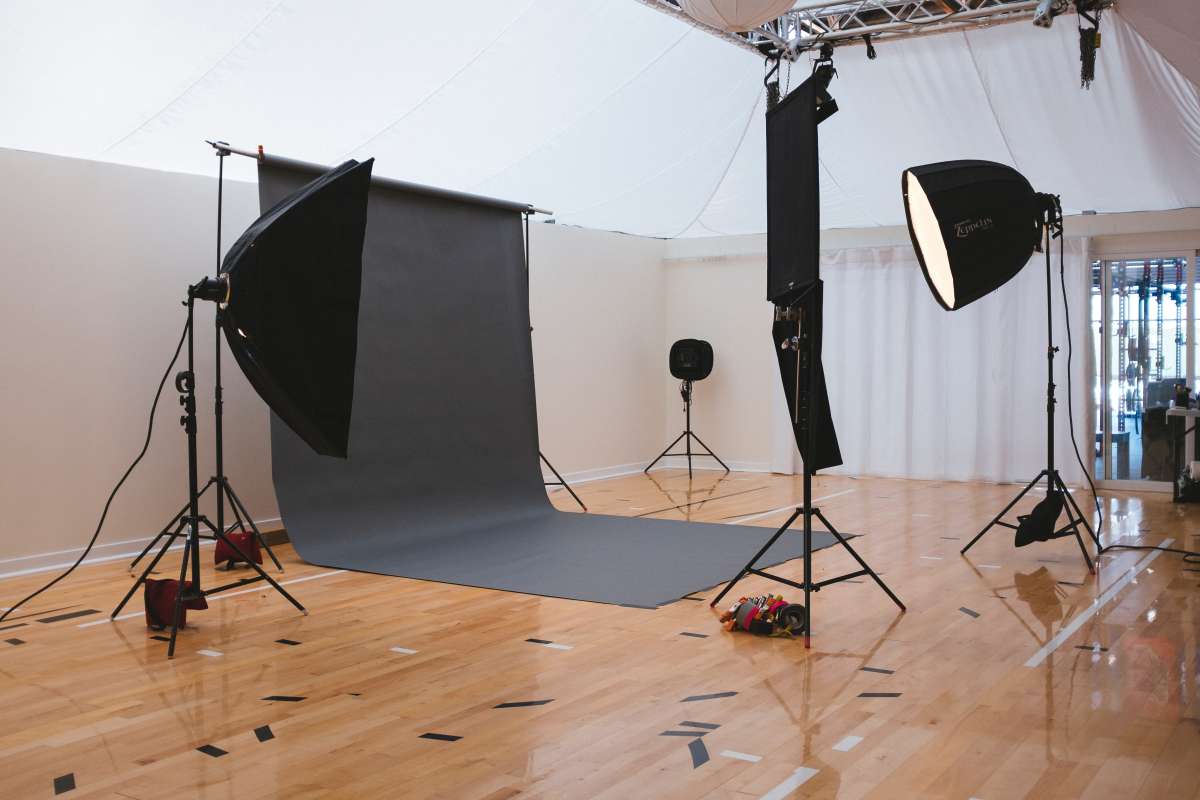
To get started with portrait lighting, you’ll need a few key pieces of equipment:
- Camera: A camera with manual settings for fine-tuning exposure.
- Light Source: An electronic flash, speedlight, strobe, or continuous video light.
- Light Stand or Flash Bracket: To position the light source accurately.
- Modifiers: To diffuse or reflect light, creating softer shadows and a more even spread.
- Reflector: Used to bounce light back onto the subject for shadow fill.
For a budget-friendly approach, consider using older flashes and basic stands. Simple gear can still yield impressive results.
Key Portrait Lighting Patterns
Lighting patterns are the techniques photographers use to shape how light falls on the face. These patterns vary in how shadows contour features, creating depth and character. Here are five essential lighting patterns every portrait photographer should know:
Butterfly Lighting
Butterfly lighting, also known as Paramount lighting, casts a distinct shadow beneath the nose, resembling a butterfly shape. Position the light source directly above and slightly behind the camera, casting light down onto the subject’s face. This setup highlights the cheekbones and jawline while producing minimal shadow, creating a classic look often used in glamour photography.
- Best For: Subjects with defined cheekbones or slender faces.
- Setup Tip: Use a reflector under the chin to soften shadows.
Loop Lighting
Loop lighting creates a small shadow of the nose on the cheek, adding depth without overwhelming the subject’s face. Position the light source at a slight angle, around 30-45 degrees from the camera and slightly above eye level. This style works well for most faces and adds a bit of drama while maintaining softness.
- Best For: Versatile for almost all face shapes.
- Setup Tip: Begin with butterfly lighting, then move the light to the side to achieve the loop effect.
Rembrandt Lighting
Named after the Dutch painter Rembrandt, this style produces a small triangle of light on the cheek opposite the light source, creating a dramatic, artistic look. Place the light at a steep angle above and to the subject’s side until the nose and cheek shadows connect to achieve Rembrandt lighting.
- Best For: Subjects with high cheekbones.
- Setup Tip: Use a reflector to soften the shadows if the effect feels too harsh.
Split Lighting
Split lighting illuminates only one side of the face, creating a distinct divide between light and shadow. Position the light source at a 90-degree angle to one side of the subject. This style is dramatic and often used to convey mystery or intensity.
- Best For: Musicians, actors, or any subject aiming for a bold, moody look.
- Setup Tip: Add a catchlight to the eyes with a small reflector to avoid an overly dark appearance.
Profile Or Rim Lighting
Profile or rim lighting highlights the outline of the subject’s face, producing a halo-like effect around the profile. Place the light source behind the subject at a 45-degree angle to create a clean outline of their features. This style is frequently used in sports photography to emphasise strength and form.
- Best For: Subjects with well-defined profiles.
- Setup Tip: Add a secondary light for more detail if a full silhouette isn’t desired.
Complementary Lighting Styles: Broad and Short Lighting
In addition to the core lighting patterns, broad and short lighting can complement any of these setups to refine the subject’s appearance.
- Broad Lighting: Illuminates the side of the face turned towards the camera, making the face appear wider. Broad lighting is ideal for subjects with narrower faces.
- Short Lighting: This technique lights the side of the face turned away from the camera, creating shadows on the closer side, which can make a face look slimmer. It’s suitable for creating a sculpted effect on rounder faces.
Practical Tips for Using Portrait Lighting Patterns
Applying these lighting techniques can take your portrait photography to the next level. Here are some practical tips for achieving the best results:
Practice With A Single Light Source
When starting, practice each lighting pattern with a single light source to better understand shadow placement. A window, desk lamp without a shade, or basic strobe light can work well for practice.
Experiment With Modifiers
Modifiers such as diffusers and reflectors can alter the intensity and spread of light. Start with soft modifiers for a gentle effect, and explore hard modifiers for a more dramatic look.
Mind The Catchlights
Catchlights reflect the light source in the subject’s eyes, giving them life and vibrancy. Always aim to have catchlights in one or both eyes to avoid a dull or lifeless look.
Observe Facial Structure
A subject’s unique facial features can influence which lighting style is most flattering. For instance, butterfly lighting suits subjects with high cheekbones, while loop lighting works well for fuller faces.
Practical Exercise: Test the Lighting Patterns
To build confidence, try experimenting with these patterns:
- Butterfly Lighting: Use a light above the subject’s face for a classic glamour effect.
- Loop Lighting: Position the light slightly off-centre and observe the nose shadow’s placement.
- Rembrandt Lighting: Angle the light steeply for a striking triangle shadow.
- Split Lighting: Place the light directly to one side to create a half-lit face.
- Profile Lighting: Move the light behind the subject to form a rim around the profile.
Use natural light sources, such as a window, to practice each style before advancing to artificial lighting.
Adapting Lighting to the Portrait’s Purpose
Once you master these techniques, understanding when and why to use each is essential. The mood, style, and purpose of your portrait will guide your choices:
- Corporate Portraits: Use loop or broad lighting for a balanced, approachable look.
- Editorial or Fashion: Butterfly or Rembrandt lighting adds drama and accentuates facial structure.
- Cinematic or Dramatic: Split lighting and Rembrandt lighting can convey mystery and intensity.
Rotating the subject or adjusting your angle can subtly change the light’s effect without moving the source. If you’re working with fixed lighting, try turning the subject’s head to adjust the pattern.
Conclusion
In portrait photography, lighting is everything. By understanding and applying these classic lighting techniques, you can produce professional-quality portraits with just a single light and a few modifiers. Butterfly, loop, Rembrandt, split, and profile lighting patterns bring unique qualities to a photograph, giving you a toolkit to enhance any portrait style.
Whether photographing a glamorous beauty portrait or a dramatic band cover, these lighting patterns will help you create the mood you’re aiming for. The more you practice, the better you determine which style suits each face and setting. So, find a subject and experiment with these timeless lighting techniques-mastery is just a few setups away.